
Perfect Makeup: Tips for Achieving a Perfect Makeup Base

Over the past couple of years, I’ve mastered a perfect base for my makeup look, beating the filter allegations. Though I’m such a proponent for Facetune or Airbrush, I’m proud to say that my recent face cards haven’t had to swipe for either.
With this makeup look, it’s not even about the products at hand, but the techniques being used. You don’t need expensive or new products, whatever you have on hand will do the job.
If you’re looking to elevate your makeup look and look flawless, you’ve come to the right place!
Setting yourself up for success
Usually, I’ll tell you it doesn’t matter how you start, it matters how you finish, but this isn’t the case. The starting point is one of the most important steps here.
Any good makeup routine starts with a prepped base: skincare and primer. Without anything for your makeup to stick to, you’re setting yourself up for disaster.
Additionally, if you have areas that you wish to conceal, like redness or dark spots, color correcting will be your friend. If you have redness, color correct with green. If you have dark spots, color correct with red.
These are important first steps that will help with the longevity of your makeup, as well as the overall look of a “filtered face”.
How to perfect your makeup
Now that we’ve discussed the first step of prep, let’s continue to some key components of the overall makeup look.
1. Layering your makeup. Honestly, you can’t be intimidated by layering your makeup. Start with liquid and cream products, then add your powders. Liquid and cream products are essential to make everything look seamless. Powders set everything in place.
If you aren’t layering, chances are you won’t get the outcome you desire. It doesn’t mean you need an excessive amount of product - you can still do light layers. But trust that you do need layers.
2. Powders dont make you cakey! Despite what you might think, you need powders. As mentioned earlier, this sets everything else in place. This truly helps achieve the filtered makeup look.
It’s important that you add powders after the liquid and creams have dried down, though! If you add powder to something that’s still to wet, it will create a sort of a paste, so please, do not add powders right away!
This part can be the trickiest. After all of my liquid and cream products are blended, I fan everything down. Then, I take a handheld mirror to inspect my face and ensure that everything is blended how I like. Once everything looks good, then I take my powder puff of setting powder to set the entire face.
3. Pat your makeup. Whether you’re using a sponge or a brush, your makeup needs to be pat into the skin, not dragged. This will drastically reduce any splotchiness or patchiness that can possibly come from adding so many different layers of makeup.
4. Setting spray. The key to having a photo filter face is to use setting spray in between steps - after all of the liquids/creams, and especially after you’ve powdered. This will not only help with keeping everything intact, but it truly melts everything together.
Additional Note:
The one powder that’s changed my life is the Fenty Beauty by Rihanna - Invisimatte Instant Setting + Blotting Powder. THIS is a game changer, when adding this to my makeup routine, it’s an instant filter on my face.
Recommended Products:
Haus Labs - Triclone Skin Tech Medium Coverage Foundation ($45)
E.L.F. Cosmetics - Poreless Putty Primer ($10)
E.L.F. Cosmetics - Power Grip Primer ($10)
Milk Makeup - Hydro Grip Hydrating Makeup Primer ($36)
Makeup Revolution - Loose Setting Powder ($8)
Haus Labs - Bio-Blurring Loose Setting Powder ($38)
Laura Mercier - Translucent Loose Setting Powder ($40)
Maybelline - Fit Me Matte + Poreless Powder ($8.49)
L’Oreal - Infallible 24HR Fresh Wear Foundation in a Powder ($15.99)
Sephora Collection - Microsmooth Multi-Tasking Baked Face Powder ($20)
E.L.F. Cosmetics - Makeup Mist & Set ($6)
MAC - Prep + Prime Fix + Primer and Setting Spray ($31)
PRO TIP: Use a powder puff for your translucent powder! Try Pimoys 6 Pieces Powder Puff!
Establishing a good base for your makeup look is so important for longevity and wear. I hope these steps elevate your makeup look! Filter where???
xoxo,
kaels
too bad ain’t me<3
RELATED POSTS:

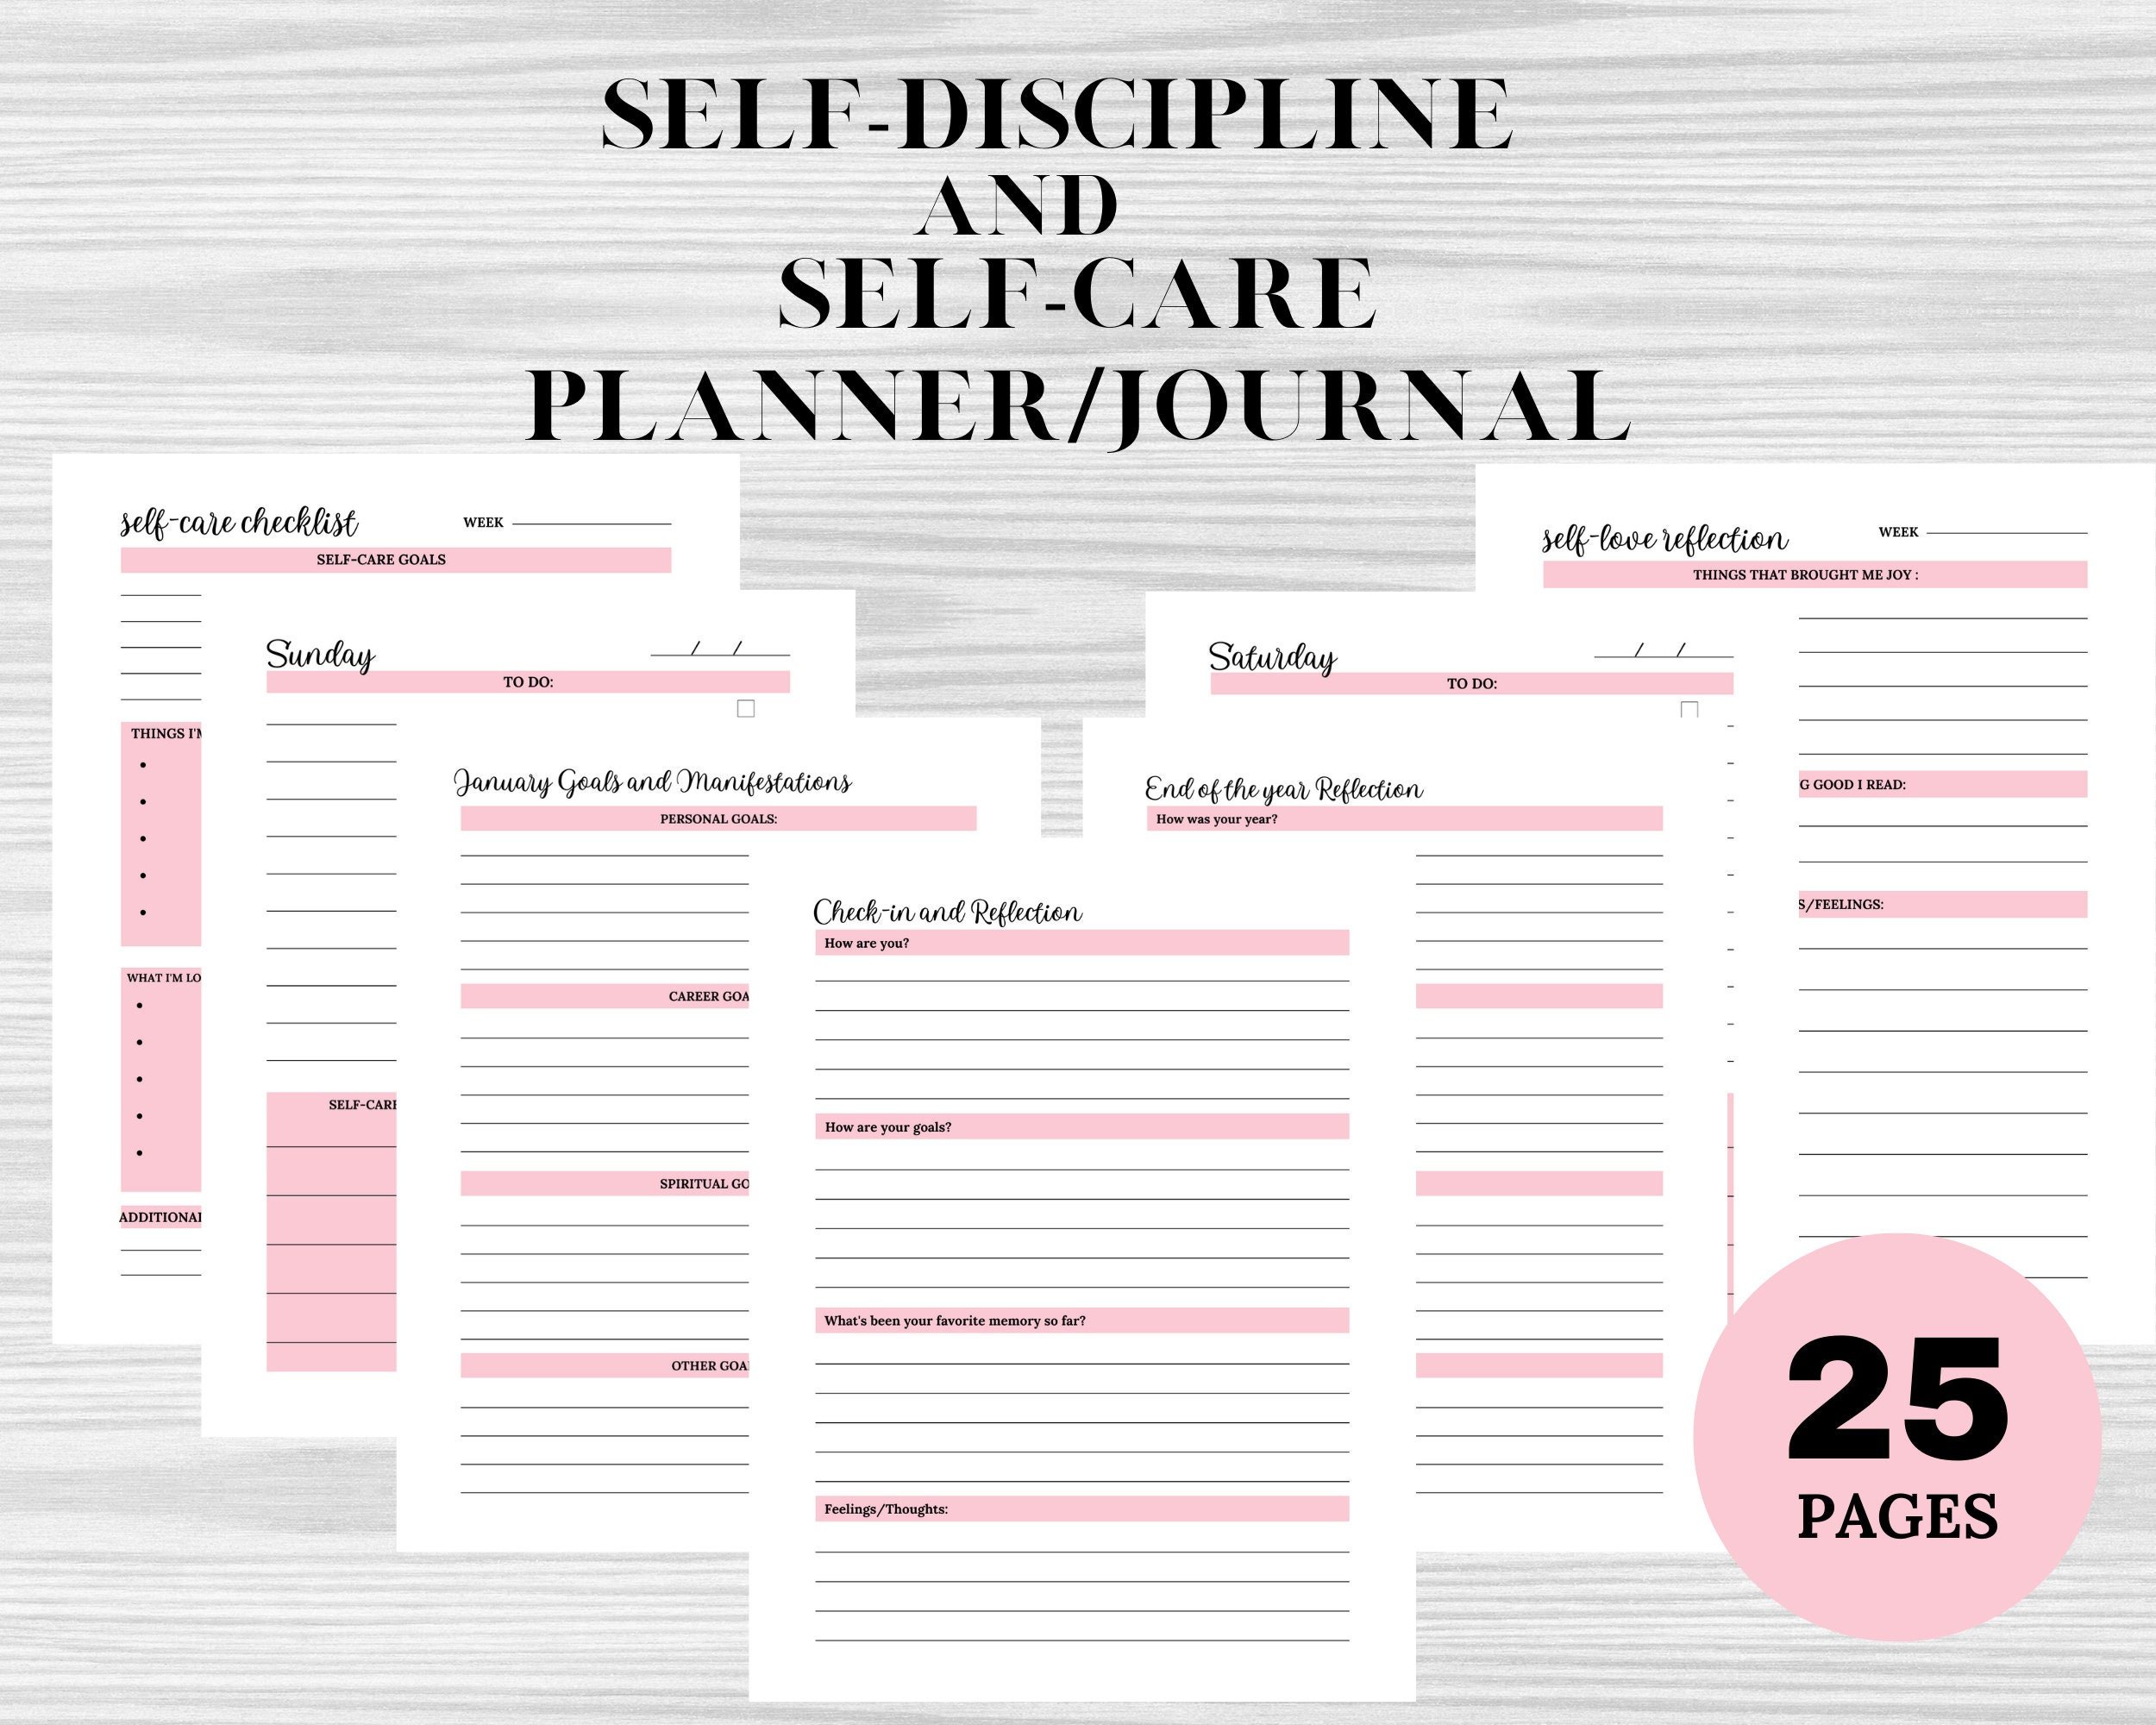
Self Care Planner | Self Discipline Planner | Self Care Journal | Work Tracker | Day Tracker | Self Growth | Self Improvement |
Meet the ultimate self care AND self discipline planner! With this minimalist planner, you can keep track of your day, which includes work and self care. Stay disciplined in work life, "me time", and self-growth. Simply write down tasks to complete at the start of your day, check off items throughout, and self-reflect by the end. Life is busy, there's a lot of work to do, so make sure you take care of yourself during the process. With easy to-do lists, this makes planning your days so much easier.
With this planner, it makes it easy to keep track of your months, weeks, and days, while staying on top of your goals. Not to mention, it allows you time to sit down and have some self-reflection! This means the ability to check in with yourself after every week, month, and year! It will allow you the time to learn more about yourself!
This is the ultimate guide to keeping track of tasks, "me time", and self-growth/improvement. Never miss "me time", even if it's just 10 minutes a day!
We've even included space to journal and write out any thoughts/feelings you might be having!
Your purchase includes:
- 25 pages in printable PDF format
- US letter size (8.5 x 11 in)
- Daily Planning
- Weekly Planning
- Monthly Goal Setting
- Self Care and Self Love Reflection
- Self Growth and Self Improvement (what I learned today)
- Goal Reflection
- Yearly Reflection
- Self Care Activities Examples
- Positive Affirmation Examples
-- PLEASE NOTE --
This is a digital item only, no physical product will be sent to you. Once purchased, you can download these digital items!
Text and color on the design CANNOT be changed
This planner can also be used digitally in GoodNotes app!
Please do not hesitate to reach out if you have any questions, comments, or feedback!